Thursday 16 July 2015

Some New Furniture

I've just returned from a mini break and had some time to wander around antique and charity shops.   Here are a few of my miniature finds.


The bookcase and columns are destined for the chateau.  The hoover and fire for the 1950s house and the sideboard, for one of my art deco houses.

Thursday 9 July 2015

Current Project - The Chateau Roof

Previously the house had a paper roof which I removed and replaced with tile effect MDF roof boards.  These come in strips and once cut to size are easy to glue in place and paint.  I painted my roof with grey water-based paint and will distress it by rubbing in a top coat of black paint.


The original roof


The new roof.  Haven't tackled the chimneys yet, that's a job for another day.


Monday 6 July 2015

My New Purchase - The 1950's House

This is a cute vintage house that I purchased from ebay.  Apparently it was made by a carpenter from plans in the 1960s for his daughter and has recently been brought down from the attic.  I plan to rescue it and make it shine again in 1950s style.  The house is 1/16th scale as are most vintage houses.


\Paper flaking off, door missing.  I love the paper in the downstairs room, so if possible I'd like to save it.


Garage door missing, back door missing and several windows.


 Roof hatch needs replacing and I have one set of railings from some part of the house.


More doors and windows missing.

Overall though, it's beautifully made and I think will be gorgeous when rescued.

The Chateau Salon - Part 3

I've been working on various items for the salon over the last week.  To complete the panelling I've made some dado rails.  For this I used strips of adhesive flooring and covered with self ahesive borders, mine come in packs of three from Poundland.  I then gave them a coat of white chalk paint and top coated with gold.


The borders in progress with some help from the cat.


Borders in place.

I also experimented with making a rug, using a piece of fabric and more sticky borders.  After painting with several coats of cream emulsion, remove the stickies so the original fabric shows through.  It creates a delicate pattern.


I've undercoated the following items of furniture with white chalk paint and then a top coat of emulsion.  (please note that the clock in the final photos is still in undercoating phase).


A Dollshouse Emporium plastic coated piano and stool (not shown).


The clock I inherited somewhere along the way.  The chairs are resin and were originally green and brown.


I've added gold detailing to the fireplace.


And this is what the room is starting to look like now.  


Monday 29 June 2015

A Quick Makeover - A Past Project

This was a quick makeover project I did on a poor house that came as part of a job lot and nobody seemed to want to buy from me.  It was a shame because it was a cute little house.  I decided to give it a spruce up just using bits and bobs I had around at the time.  Below is the house when it arrived.


First I gave the outside a coat of Annie Sloan's Country Grey chalk paint and the roof a coat of grey undercoat.

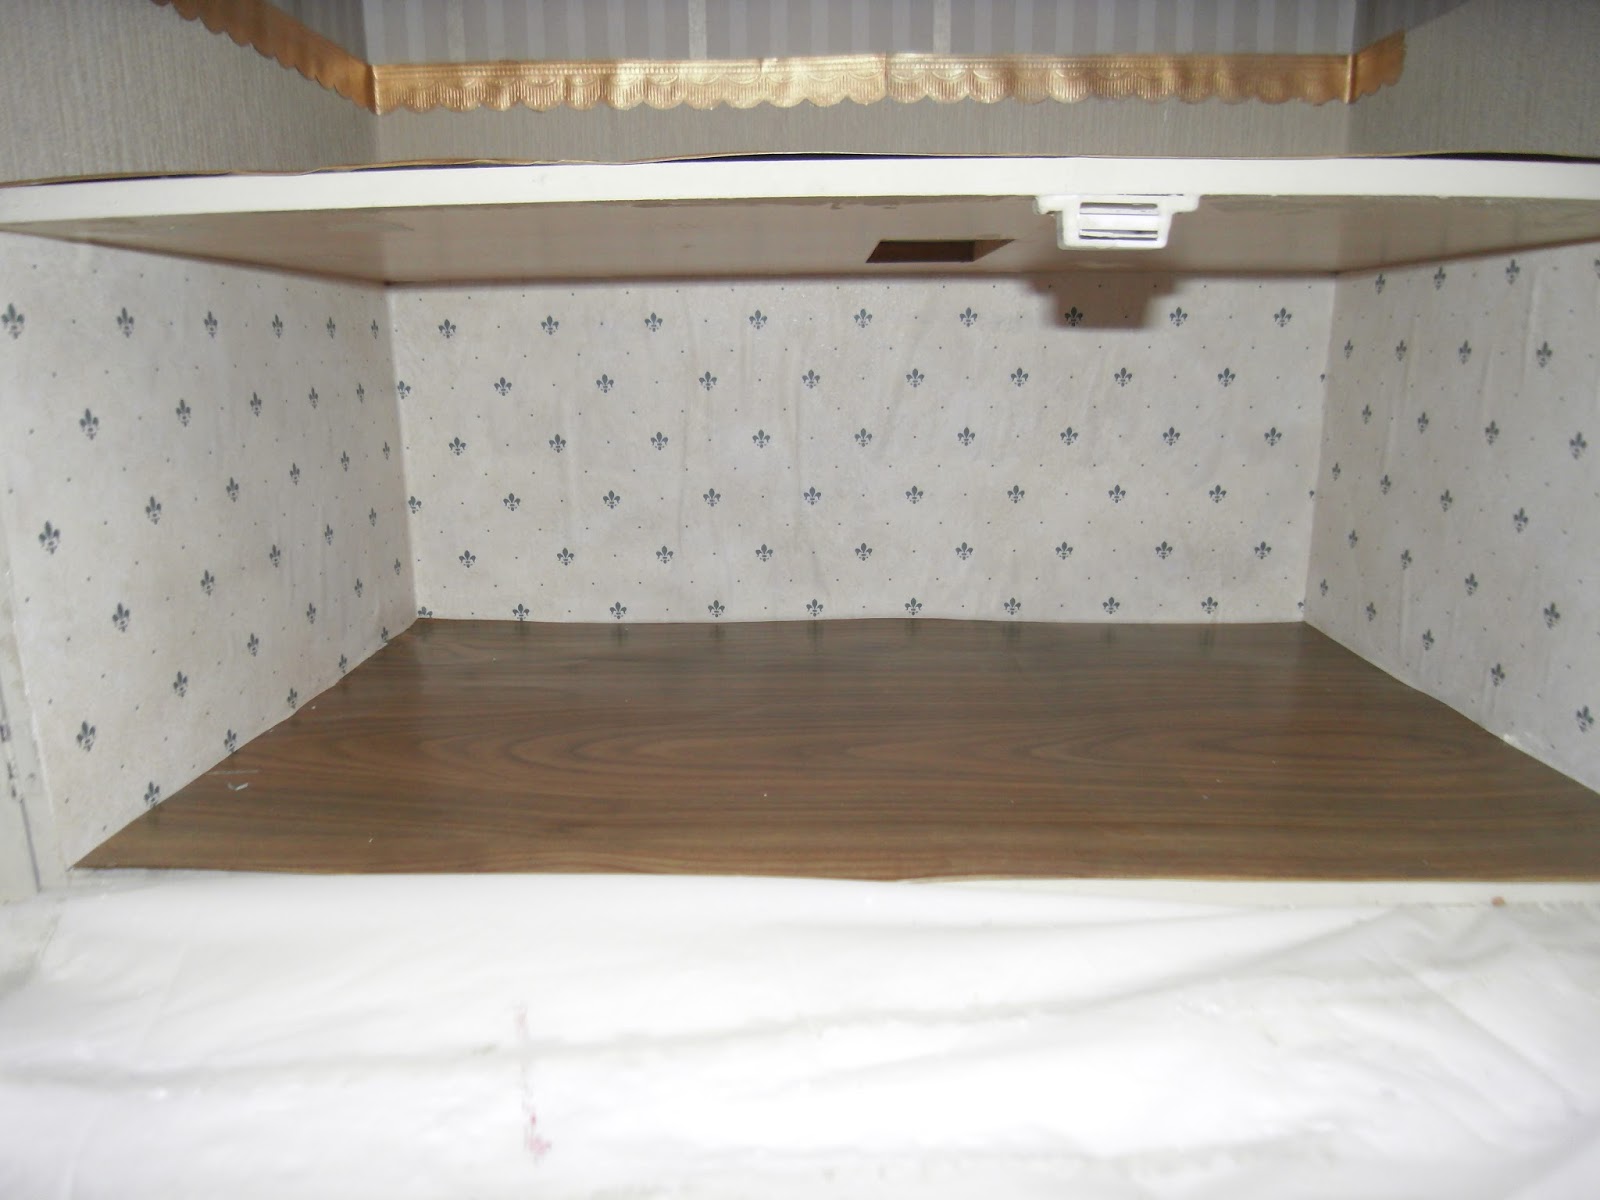
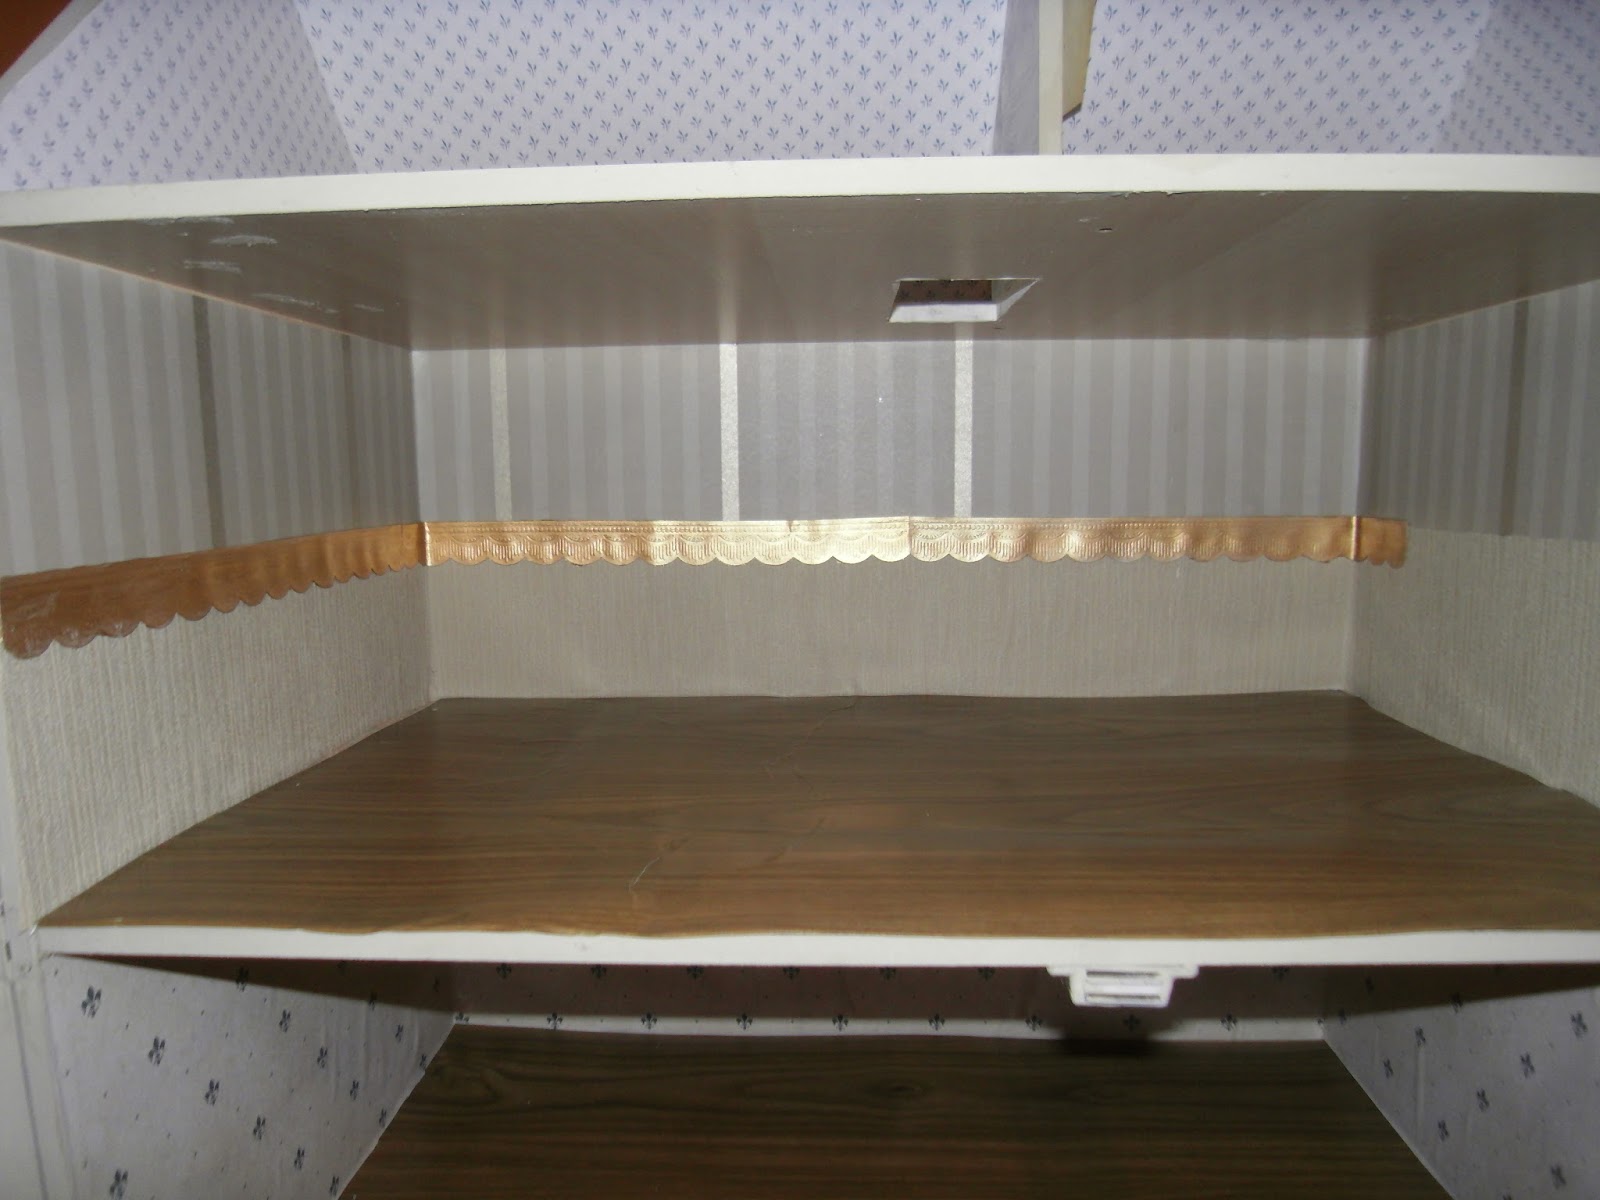
Inside I played about with the layout and in the end decided on no stairs at all.


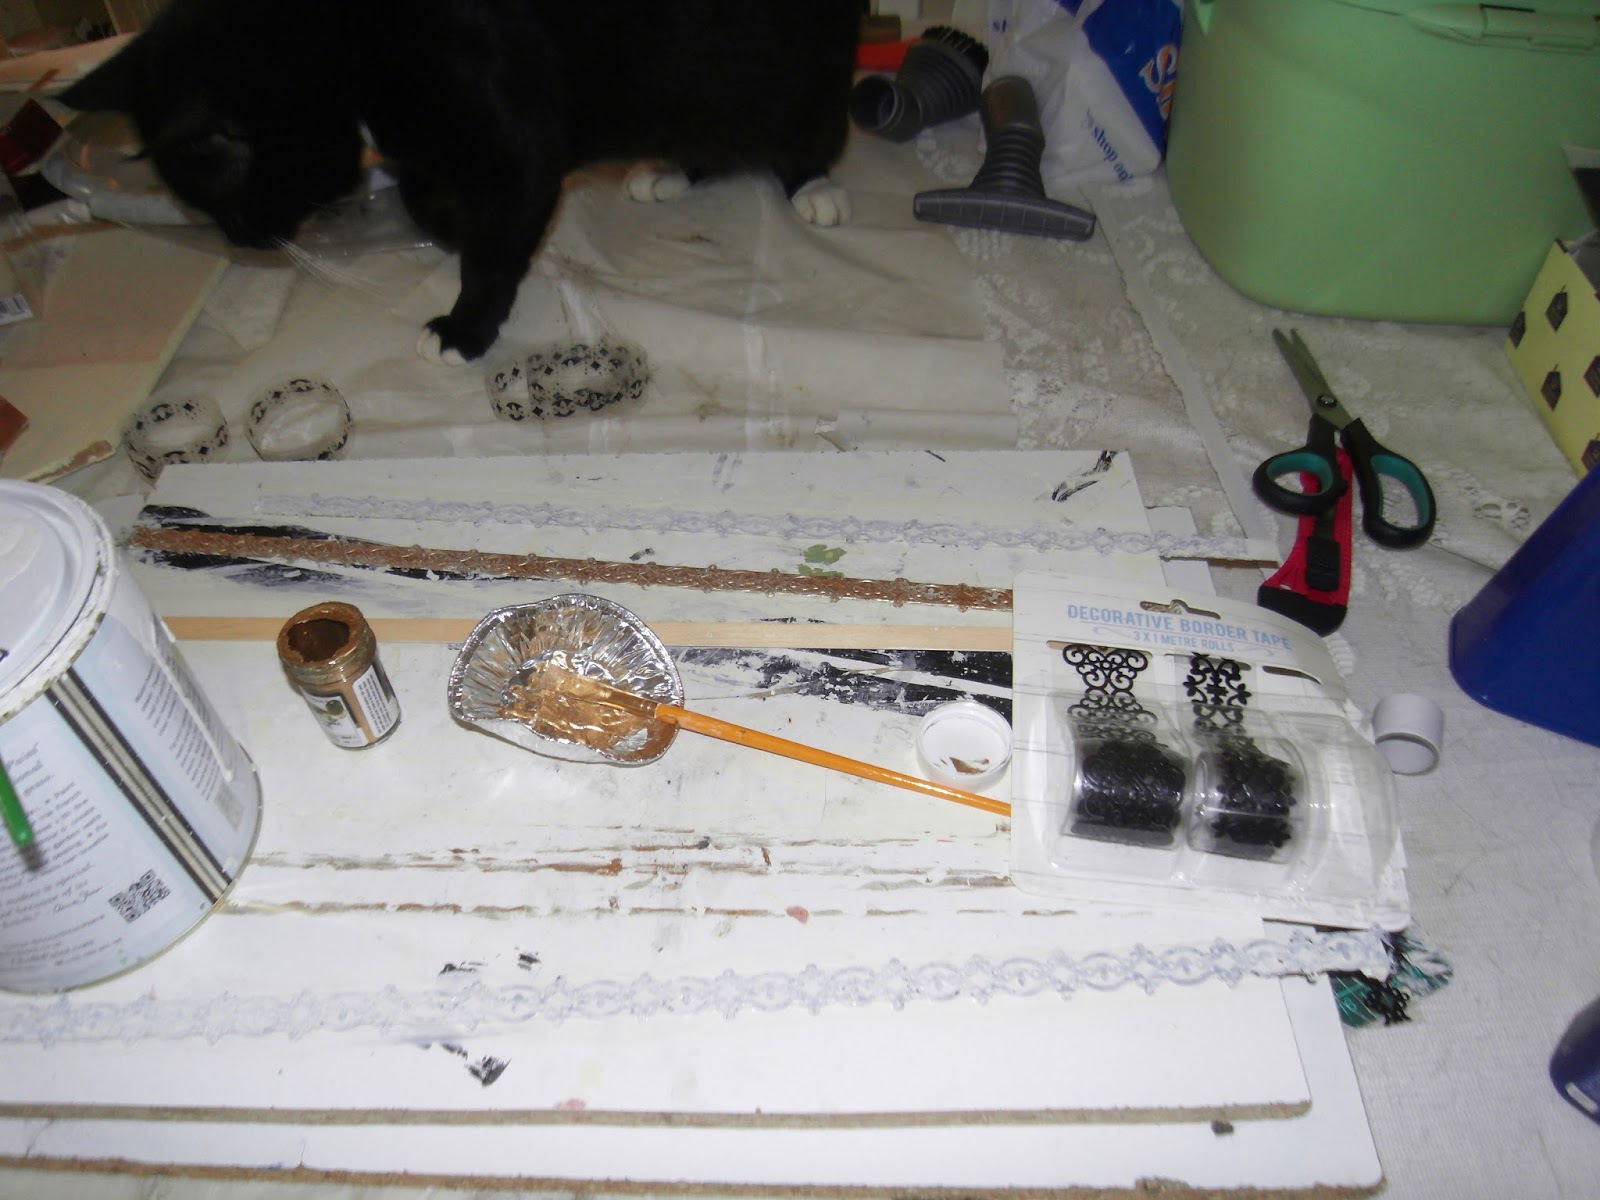
Using spare wallpaper samples, I decorated each floor and then in the sitting room, added an adhesive border which I painted gold. The floor is sticky back plastic attached to card cut to size.  Decorating in progress.


 Now that I'd opened up the sitting room, I wanted to add in a fireplace, so I used some toy building bricks and cardboard to create a fireplace shape and painted the mantle in Annie Sloan's Old White chalk paint, and the cardboard back plate in black acrylic.


I also decided to add in faux doors, so using lolly sticks, glue and cardboard, I cut out door shapes and frames which I glued together and painted. A paper fastner or a bead make a good handle.


And Finally, you can see the decorated interior with the faux fireplace and doors in position.  I cut some lace and glued it to the windows.  Much nicer now!


Externally, I gave the house a quick rub over with Annie Sloan's dark wax to create a distressed look.


And that completes a quick, low cost makeover.  I'm pleased to say that his house was snapped up quickly when it went for sale.

Sunday 28 June 2015

Current Project - The Chateau Salon part 2

I now have most of the component parts to start pulling the salon together.  Today I will be attempting to lay the flooring.  This is self-adhesive wood strip which you buy in sheets.  However, I'm advised that it does not glue very well, so I will add an additional layer of glue to keep it in place.  Also it is one plank to short of the width of the house (how annoying is that), so I'll need to add in extra strips to complete the floor.


I've decided to add in french windows to the back wall for additional interest and these are unpainted inexpensive examples,


After painting these with two coats of cream emulsion, they have been velcro tabbed to the wall, so that I can insert pictures of a garden behind the panes.  The panelling has been glued in place and at the end of today, this is what the salon looks like.


Current Project - The Chateau Salon


Recap, the salon will now be located in the large ground floor space.  I plan to split the walls into a wallpapered top section and a panelled bottom section.  To create the panelling I used mount board, cut to size with smaller squares glued onto it.


I then gave it a coat of white chalk paint and a top coat of cream emulsion, see below.


For the wallpaper section, I've used a lovely cream and gold paper which I cut in half and stuck to the walls using PVA glue (Poundland PVA is great for this task as it is already very thin and watery).


Ready for the flooring to be cut and glued into place and the panelling added.

Since every french salon needs a fireplace, I am using this plastic one which came with a collectible magazine.  However, I don't want it to be dark so I gave it a coat of chalk paint and a top coat of cream emulsion.


The fireplace after painting.  Later, I will add gold detailing and a top coat of wax.


Friday 26 June 2015

Current Project - Repositioning the Doorway

This started well when I managed to get a matching window to replace the door with, however the existing aperture is 7mms too big for the window to sit snugly into, so I will have to enlarge it.  Today I have painstakingly sanded the edges of the doorframe until it is large enough to take a window.


In addition, I've now filled and painted the basement panels and glued in the new windows so these are ready to be attached.  I'm also thinking about how to reposition the door between these two panels.

Today's progress.


Update:  Saturday I finished the window by patching and painting.


Current Project - Chateau Layout

I've been having a think about layout today and throwing around a few ideas.  Now the house has more flexibility without the central staircase I can reconfigure to suit.  The ground floor of the house will be the main seating area and I intend to leave this as one large space for impact.  On the second floor, I will add a fake wall with a door through to create two separate rooms, one will be a bedroom and the other either a nursery or bathroom (to be decided).  The top floor has potential to be either two or three spaces.  The larger space will certainly be a bedroom and the second space may be a bathroom or nursery.  If I do decide to include a third space, I'm think either a small study or an attic.  I've always fancied doing an attic in a house...but we'll see.


A mock up of potential layout.

Turning to the basement, I've removed the frontage completely and the panels holding the stairs have been reversed so the grooves will be hidden on the inside.  I've cut spaces for two new windows and filled the holes with filler.  Once sanded and painted, these can be reattached with flush hinges.

My next big decision is that I want to move away from the basement being a servants' quarters and make it the main entrance area.  For this I need to replace the front door on the floor above with a  window and reposition the door in the centre of the basement panels.  The space behind will become a hallway with a kitchen and dining room either side.


Join me tomorrow to see the further progress of this property.


Tuesday 23 June 2015

Current Project - Chateau Progress

Thanks for joining me today.  A quick reminder of the interior of the house before we take a look at how it is progressing.


As you can see this has now been stripped out and the central staircase has been removed to open up the space.


Once the staircase has been removed, it leaves a gap in the floor and ceiling below so I have added ceiling paper to cover the gaps.  Once flooring is added, you would never know the stairs existed.


Externally I have painted the house with Annie Sloan's chalk paint in Country Grey for a nice french look.  I've removed some of the window frames which were crooked.


Each window frame has been painted in chalk paint ready to be repositioned.


Painted window frames now back in place.


Next time, I'll be sharing a few ideas about layout.

Introducing The French Chateau

This is a project I have been working on occasionally for a few months now and I want to introduce you to it so you'll have some history when you see pictures.  As fan of shabby chic home design, I was quite keen to do a dolls house in this style, so when a Dollshouse Emporium kit house came up on ebay I purchased it.  I hadn't realised from the photos how big the house and basement were going to be.  I travelled some distance to collect it, so I had to make sure it got wrestled into my small car somehow.  Following a very uncomfortable drive home, here's how it looked on arrival.


It has six rooms divided by a central staircase which I plan to remove as I feel the current arrangement limits what you can do with the layout.  Those black spots you can see are holes drilled for electric cables but the new lighting will be more subtle.  As you can see it has a huge basement (called The Burleigh) which takes up a lot of room, so I plan to slim this down when I reconfigure the house.  

Tomorrow I will share the first stages of preparing the house for its makeover.